The decision has been made, you have made the choice to install a new window. The windows were ordered and installed, but what next? The aesthetic appearance is compromised, how are window sills and slopes finished? There are several main types and finishing options.
Types of finishing
There are several options for finishing window sills:
- Plastic.
- Natural and artificial stone.
- Tree.
|
Type of material used |
||
|
The appearance of yellowness under the influence of ultraviolet rays. |
|
|
Natural and artificial stone |
|
Prone to forming small webs of cracks. |
|
Some types of wood are sensitive to moisture. |
Plastic

Recently it has gained great popularity (see Finishing window slopes with sandwich panels).
Preparatory work for finishing window sills and slopes with plastic:
- We measure the window opening.
- We calculate the quantitative composition of the required material.
- Carrying out an analysis of the placement of radiators and their distance from the walls.
Advice. Be careful: according to regulatory documents, the required distance for the protrusion of the structure along the wall from the outside of the battery. You can purchase high-quality plastic windows on the website www.okna-etalon.ru/windows/.
If you decide to save time and do preparatory work with your own hands , Watching the video may help you.
Materials for finishing slopes and window sills:
- A sealant having a soluble base.
- Polyurethane-based construction adhesive with primer.
- Foam for installation (two-component).
Don't forget to look at the instructions for their use, which are reflected on the packaging.
Stages of work
To do this, you should prepare wooden supports on which the window sill is supposed to be placed. The window sill is installed in specially designed grooves that are located at the bottom of the window.
Advice. One of the important points is to set the surface of the window sill at a level, so that it will have good rigidity during operation.
This completes the installation. Small installation work remains, which is carried out in the following order:
- To prevent cold from entering the apartment, the joints of the staging profile are closed first.
- Processing of wooden supports.
- Foaming the joint between the window sill and the wall.
- Placing a uniform load over the entire surface of the window sill.
Carrying out final work silicone sealant. The finishing of the plastic window sill is completed, the finishing of the slopes is carried out in the same way.
Window sill tiling

Required materials:
- Special glue.
- Primer deep penetration. Tile.
- Plastic parts for carrying out installation work on the corners of the window sill.
- Tile grout.
- Glass cutter
- Level.
- Spatula.
- Pliers.
- Hacksaw (preferably small).
The basic materials have been prepared, you can begin to finish the window sill itself. You should choose a place so that the tiles lie on the windowsill in whole tiles.
Carrying out work
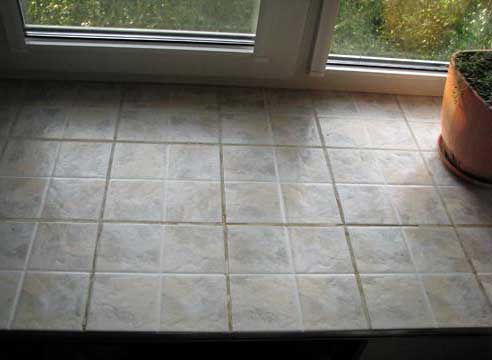
- Next, the mortar is evenly applied to the tile using a special spatula, and the tile is laid on the surface of the window sill.
Advice. Before this procedure, a pre-cut decorative corner is installed in the future location of the outer corner.
Thus, the remaining tiles are laid, taking into account the required gaps between them.
- When laying tiles, be sure to use a level to avoid uneven surfaces. To prevent condensation from accumulating on the window sill, make an inconspicuous slope from the outer corner.
- After finishing the tile laying work, it takes about an hour to dry it. To give the window sill a beautiful aesthetic appearance, work is carried out to clean the cable from excess solution.
- Then the grout of the desired color is selected and placed between the tiles with careful movements.
Finally, you need to wipe the window sill damp cloth. The surface is ready and can be successfully used.
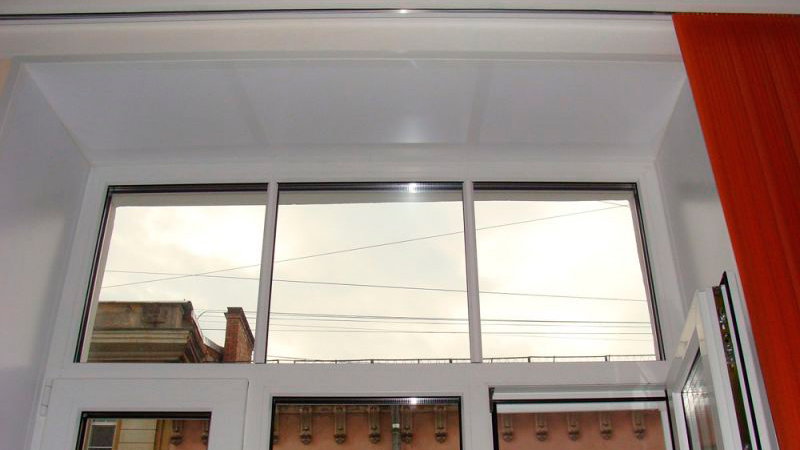
Window sill trim with wood
![]()
It is completely compatible with the overall interior. The main wood species for finishing window sills with wood are:
- Chestnut.
- Mahogany.
Preparatory work involves cleaning the area and upholstering it with shingles or felt to insulate the structure. Installation is carried out using lime-gypsum mortar, which is poured between pre-installed wooden wedges.
Photos of the design of window sills and slopes
Carrying out installation work
After pouring, the boards are laid. Its sorting begins from the bottom of the window opening:
- From the edges of each board you need to add 4 cm, which will go into the slopes.
- The boards are fastened with dowels.
- If the wall is made of stone, it is necessary to accurately calculate all the grooves and adjust the boards to fit them. To insulate the structure, upholster bottom part and ends with felt.
- Using a level, make sure the surface is horizontal.
- After completing the work, fill all gaps and cracks with gypsum material. Carefully plaster the surface of the damaged walls and decorate according to the finish.
And remember that wood always brings a feeling of warmth and comfort, it brings a certain harmony to the house.
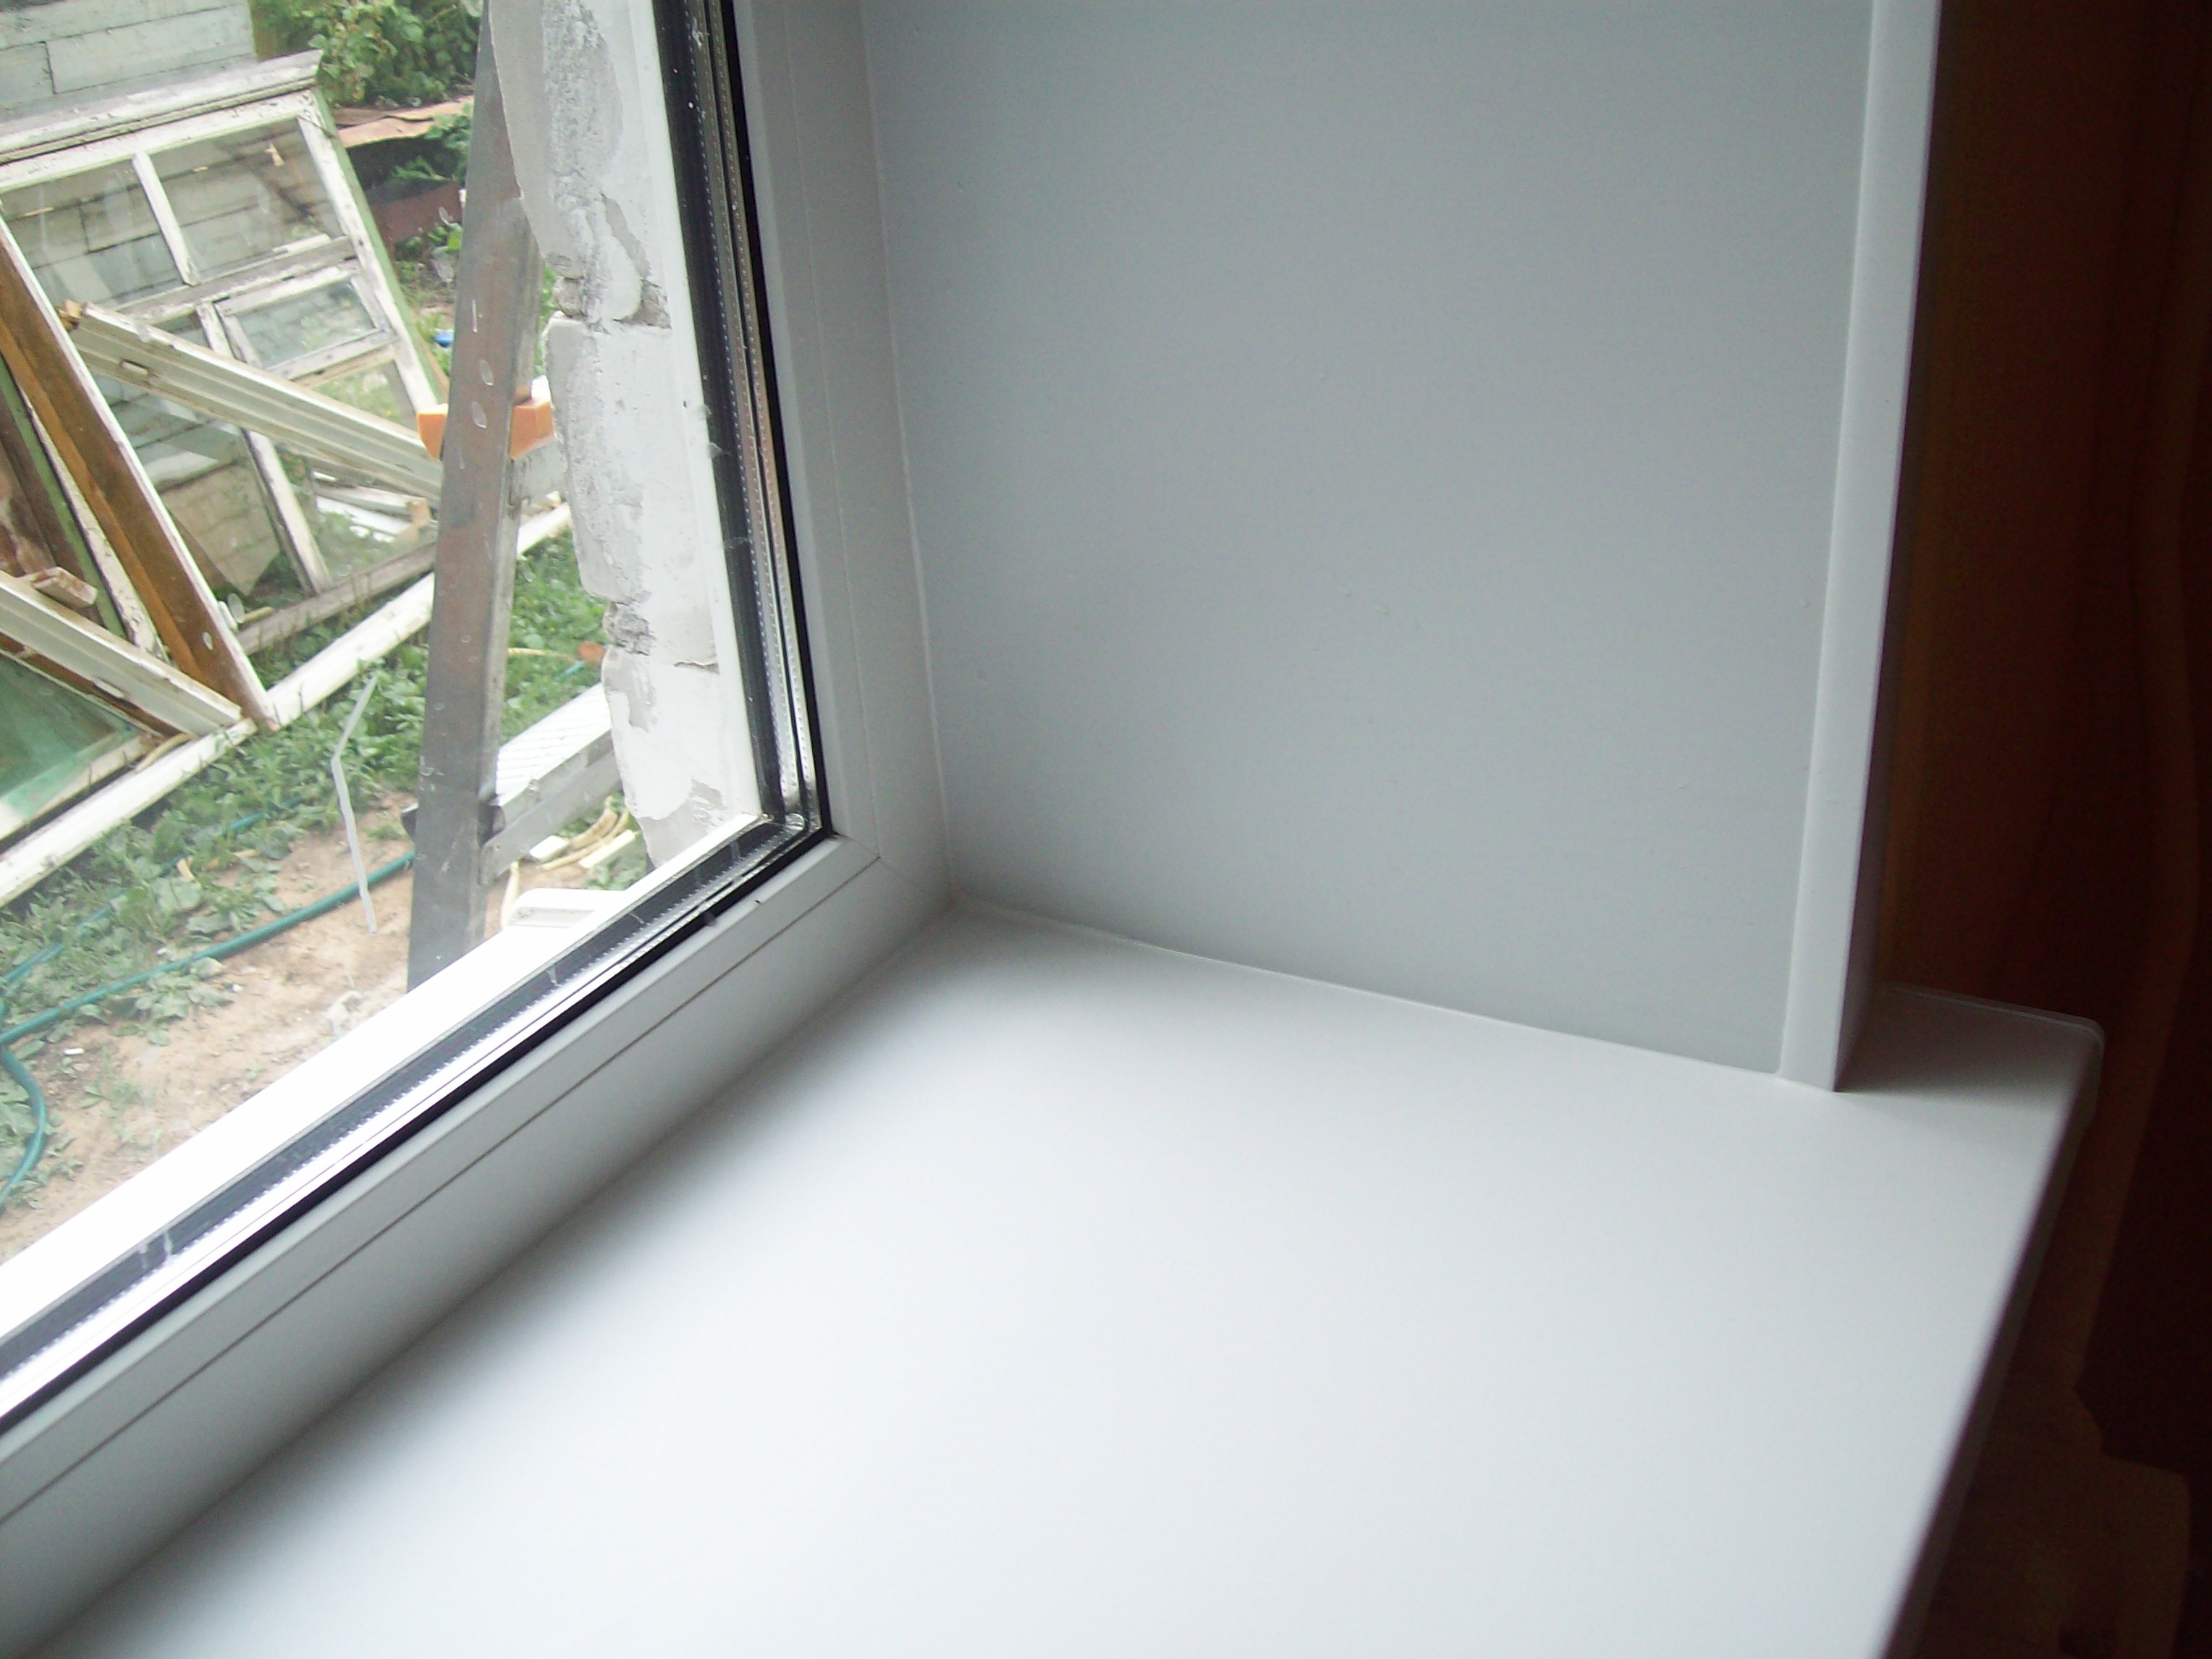
A stage no less important for the window installation itself is the installation and finishing of plastic window sills and slopes.
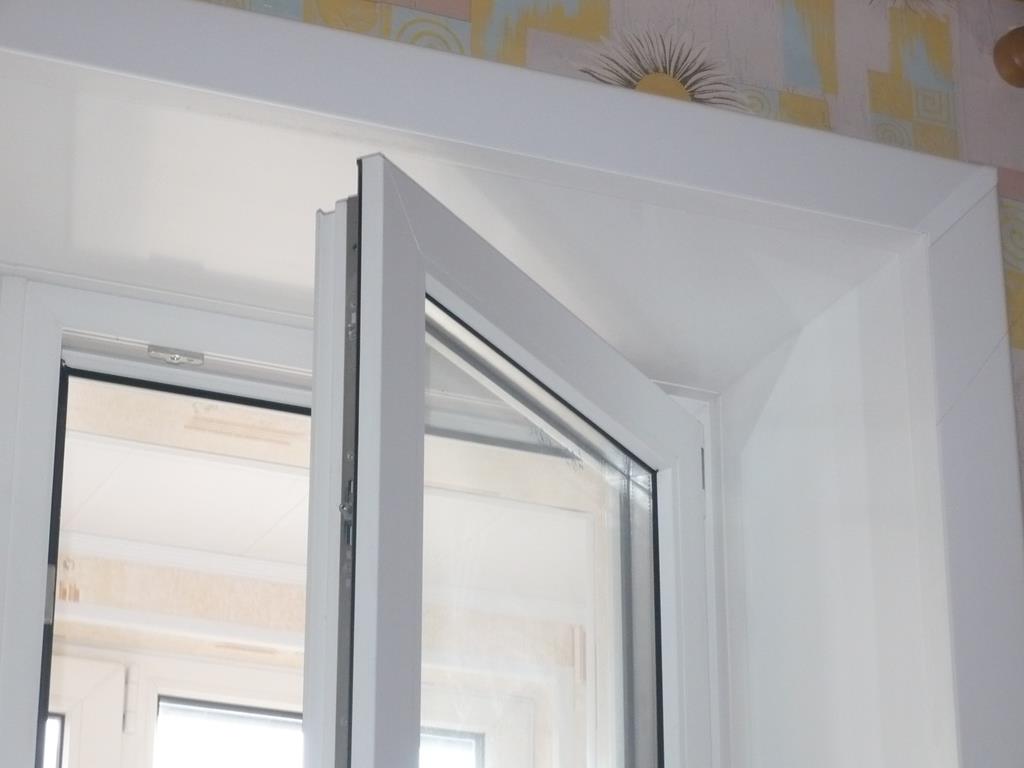
If the window is selected, delivered and installed in window opening, waiting their turn window sills and slopes for plastic windows. They allow you to create an excellent finished look for the window and improve its thermal and sound insulation properties.
If the installation of window sills and slopes is carried out professionally and correctly, the sashes do not touch anywhere, and when opened they remain motionless at any point. This is the first thing you need to pay attention to.
But not the only thing. In general, it is difficult for a non-professional to notice any flaw in the installation of the window sill and slopes. This becomes clear later. Therefore, only highly qualified professionals should install it, and upon completion of this work, a long-term quality guarantee must be issued!
At installation work They use special construction foam that quickly hardens. After it dries special attention care must be taken to ensure that there are no gaps left in the areas where it is used.
An important point that many people don’t pay attention to! At the stage of processing the foam and its drying, the doors to the room in which work is being done on the window opening should not be opened, or they must be removed, or at least slightly opened, window sashes. Why is this necessary?
The point is that when closed windows, opening the door can create a certain vacuum, which will be quite enough to break the tightness of the foam that has not yet hardened! Even completely unnoticeable holes may form in it, which, however, will be enough to feel the blowing and draft from the window in the cold season.
The order of installation of slopes and window sills.
Finishing the slopes is the first place to start work. First of all, they install the upper slope, which they then focus on. A lower slope is installed parallel to the upper one. The side slopes are adjusted between the upper and lower ones. The sequence of left and right is not so important.
Installing a window sill is a special stage that, in addition to the main algorithm, has its own nuances!
1. Fix it clearly and firmly.
2. There should be no deflections along the entire length.
3. It should be set at 90° in relation to the position of the window (+- 2-3 mm is the maximum permissible deviation).
4. The width of the slopes should not exceed the width of the window sill!

“Ears” are cut out along the edges of the window sill. They provide a finished look to the entire structure. At the ends, on open parts, they are installed decorative corners. At the bottom of the window sill everything is treated with foam and putty. Sealant or silicone is used to seal the seams that separate the sill from the slopes.
Processing of the entire structure special means Window care is the final stage. After this, a quality guarantee is issued!
If you need it, contact real professionals: the RemOknaService Moscow company is the standard among them!
It’s not for nothing that slopes and window sills are called “a retinue of a plastic window.” It can exist without these elements, but it is far from complete. After all, window sills and slopes for plastic windows are not just beauty, but also reliability, tightness, and durability of the entire window structure.
The RemOknaService Moscow company installs slopes and window sills on windows. We will complete your order on time at the best cost, regardless of the type, parameters of the installed elements, urgency and scale of work!
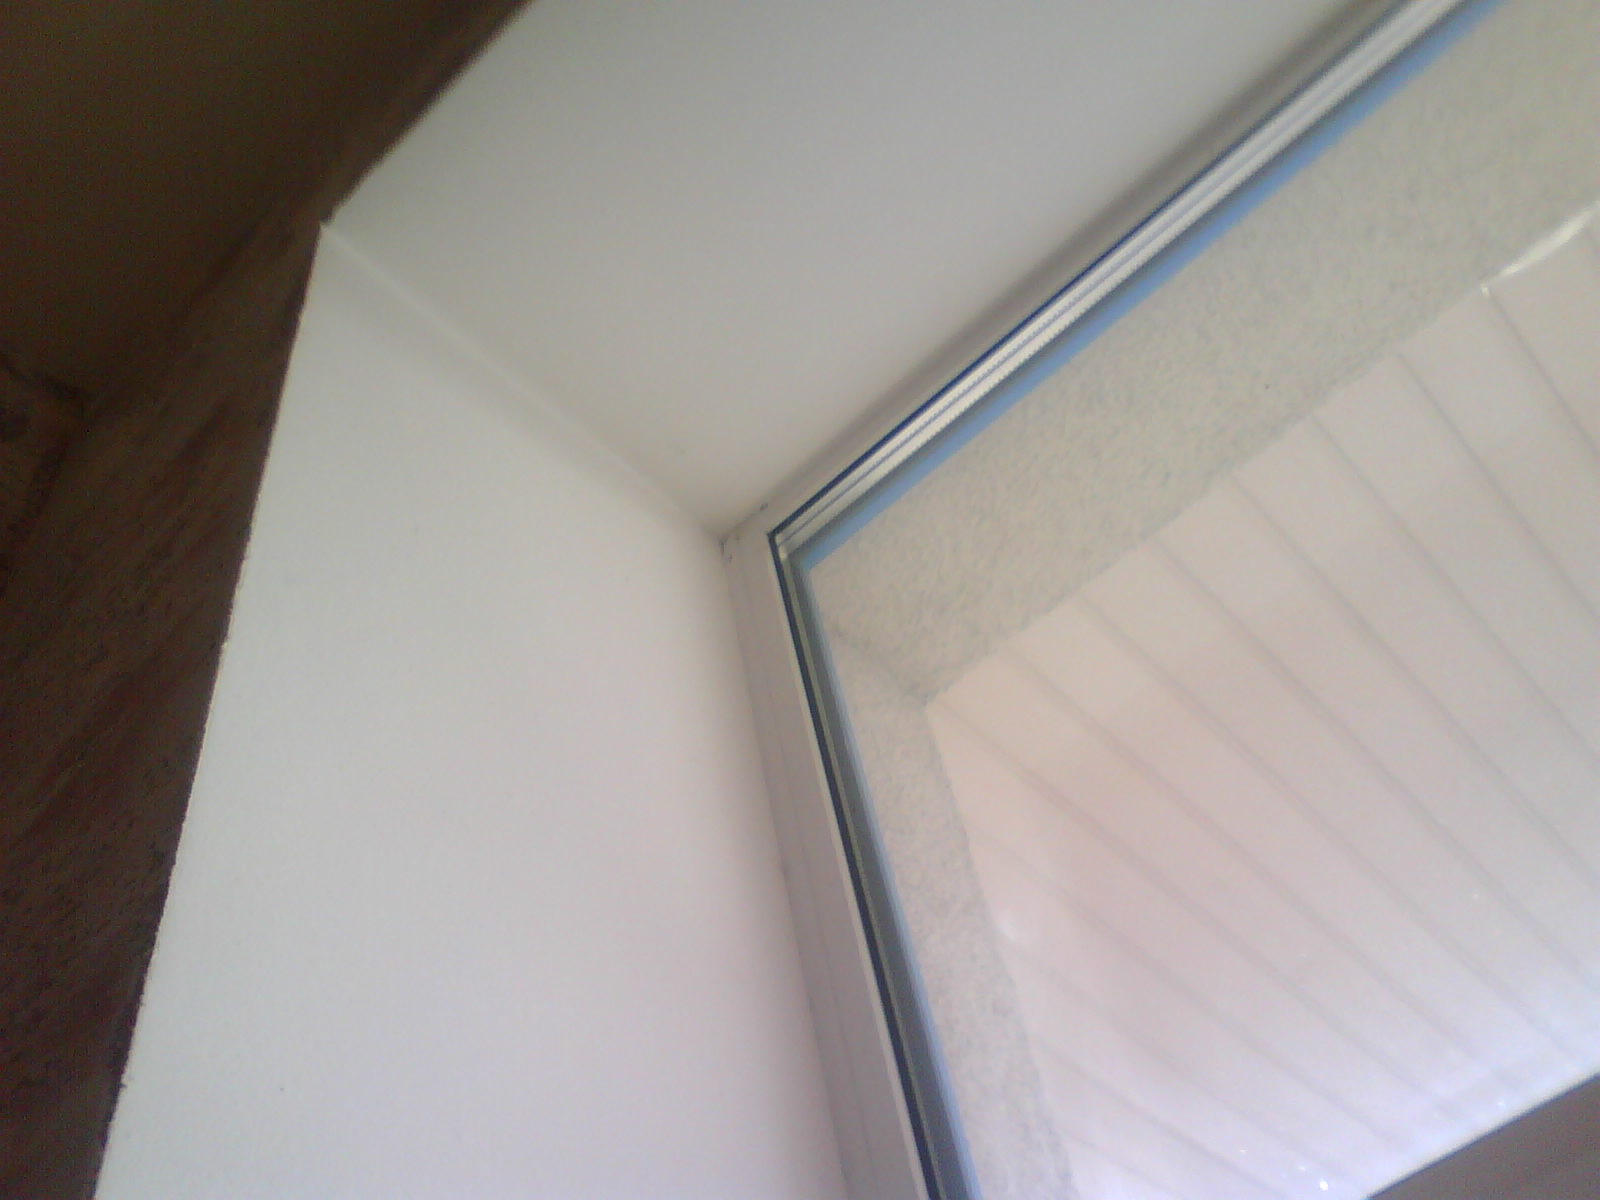
Both window sills and slopes can be made from completely different materials. This determines their properties and service life, as well as ease of use. It is worth noting that the most popular and most versatile today among all existing options, - plastic window sills and window slopes.
The slope is a part of the window opening, which is located along the perimeter of the window on three sides: on the sides and on top. Slopes can be both external and internal. Their main purpose is to protect the joints between the frame and the window opening. Well, one should not, of course, forget about the aesthetic component.
There are plastered slopes, and there are also overhead slopes. Plastic slopes belong to the second option. Invoices are most often made from plastic plates, or from wood veneer. It can be noted that, in fact, the slopes, their finishing, is the final touch in not an easy task installation of plastic windows.
Finishing of slopes is required both when installing a new window in a newly built house, and when replacing a window with a new one (especially if old ones are replaced wooden windows on modern ones - plastic).
Slopes, which are installed using the plastering method, are already becoming a thing of the past for a number of obvious reasons. They are being replaced by modern, high-quality plastic slopes. They are very quickly installed, provide additional thermal insulation, do not require maintenance, do not crack or fade. Plastic slopes are made of polyvinyl chloride. This is an environmentally friendly material!
There are 2 types of PVC slopes:
Panelite is a hollow plastic panel, which is equipped with ribs inside that give it rigidity;
Sandwich panel - foam insulation covered on each side with plastic. External side The panels have a melamine coating that protects it from chemical and mechanical stress. Sandwich panels are easy to clean, can be used for decades and guarantee a high degree of sealing at the joints.
Plastic window sills are no less popular. They left far behind all their competitors made of wood, natural and artificial stone, and so on. There is also a simple explanation for this: a plastic window sill is a universal and relatively inexpensive window sill. It is quickly installed, performs well during operation, and does not require special care.
Our craftsmen will be happy to help you install window sills and slopes on your windows. For additional information and order services, please contact our consultants. We are always happy to be of service to you!

Window sills and slopes are important elements finishing of plastic windows, which perform not only a decorative, but also a practical function, ensuring the tightness of structures and ease of use. Installation of window sills and slopes on plastic windows– This is an integral stage of window installation.
At MasterMax, clients from Moscow can order services for installing window sills and slopes. Among the advantages of the company are the professionalism of the craftsmen, the availability of specialized equipment and tools, the efficiency of processing applications and fulfilling orders.
Installation of window sills and slopes
Window sills and slopes can be installed either simultaneously with the installation of the window, or after some time. Installation work is carried out in the following sequence:
- taking measurements and making window sills and slopes along them;
- preparing the surface for installation - cleaning from debris and dust, leveling if necessary;
- fixing the window sill and slopes;
- sealing seams using a special sealant;
- checking the quality of installation of products.
Window sills and slopes help ensure comfort in the premises, preventing moisture, cold and noise from penetrating into the rooms.


