Structural paint is a fairly popular finishing material used to cover walls or create a laminated layer. The service life of structural paint depends on compliance with its application technology. We will learn further about how to properly apply structural paint.
Structural paint for walls video, features and benefits
Previously, the most popular type of finishing was wallpapering or covering the walls with putty and painting them. Modern hardware stores offer a range finishing materials new generation, with the help of which, with minimal financial resources, it is possible to create an original and attractive coating.

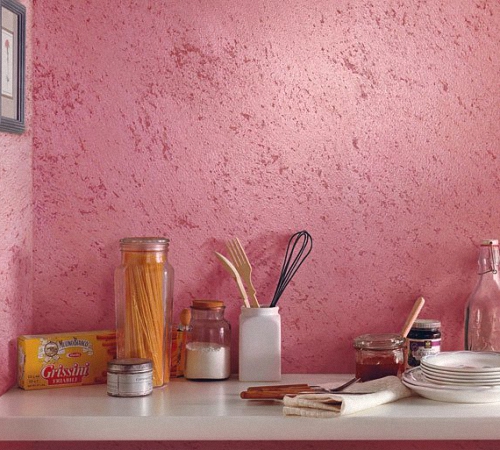
Structural paint is also called textured or textured, this is explained by the fact that this substance contains structuring fillers. The type of filler determines the type of paint used in the work. Structural paint is applied to concrete, wood, and brick surfaces. Since it contains acrylic filler, the paint is particularly durable and practical to use.
In addition, this material is hypoallergenic and is used for wall decoration in children's rooms. Also, the paint is resistant to moisture, so it is easy to clean damp cloth. Some structural paint options are used to decorate exterior walls.
There are two options for paints - structural and textured. In order to understand the features of structural paint, we suggest familiarizing yourself with its varieties:
- paint on mineral based- is a dry composition of cement with lime, water is used to dilute this composition, with the help of this paint it is possible to finish external surfaces;
- silicone type paint - has good performance characteristics and practicality in use, silicone resins are used for the manufacture of this composition;
- the most expensive is silicate type paint - the use of this composition involves covering the walls with silicate primer and the presence of a mineral surface;
- acrylic composition is the most popular when performing interior decoration walls, such paint can be applied to any surface and is sold in finished form, no dilution with water required.

Among the main options for textured paint, we note:
- Mizuri - modified starch is used to produce this paint, the resulting surface is smooth, but at the same time has a certain texture;
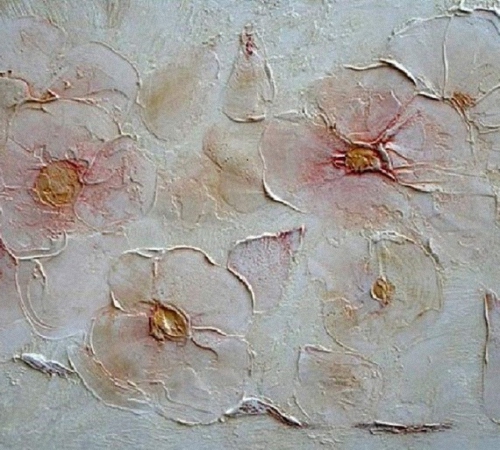
- paint in the form of Marseilles wax - with the help of this composition it is possible to imitate stone, cork, wooden surfaces, this version of the paint is resistant to moisture and easy to maintain; after applying the paint, it is coated with a special type of wax, used both for finishing residential premises and in industrial and office buildings;
- relief paint - has an acrylic-based polymer base; quartz chips and other natural fillers are added to the paint; this paint is easily applied to the surface and allows you to create various surface defects.
Structural wall paint has the following advantages:
1. Ideal viscosity is ensured by a certain composition of the paint, due to which it has a stretchy texture. Because of this, the structure of the paint is unique and deep. The variety of textures is ensured by the connection of different color enzymes. Further processing surface using a spatula allows you to achieve an original structure.
2. Possibility of tinting paint various colors performed both in the store and at home. The paint color is individual and unique.
3. After the paint has dried, a strong, elastic film is formed on the surface of the wall.
4. Structural paint tolerates moisture well and does not dissolve when exposed to water. Therefore, this material is used for both external and internal wall decoration.
5. High level vapor permeability of the material allows the walls to breathe and provides natural ventilation indoors.
How to apply structural paint: features of material preparation
Before using structural paint, read the manufacturer's instructions for its application. The instructions, as a rule, indicate the drying time of the material, the features of its preparation for work, the properties of the paint and the technology for applying it to the surface.
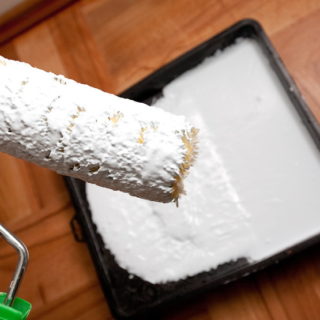
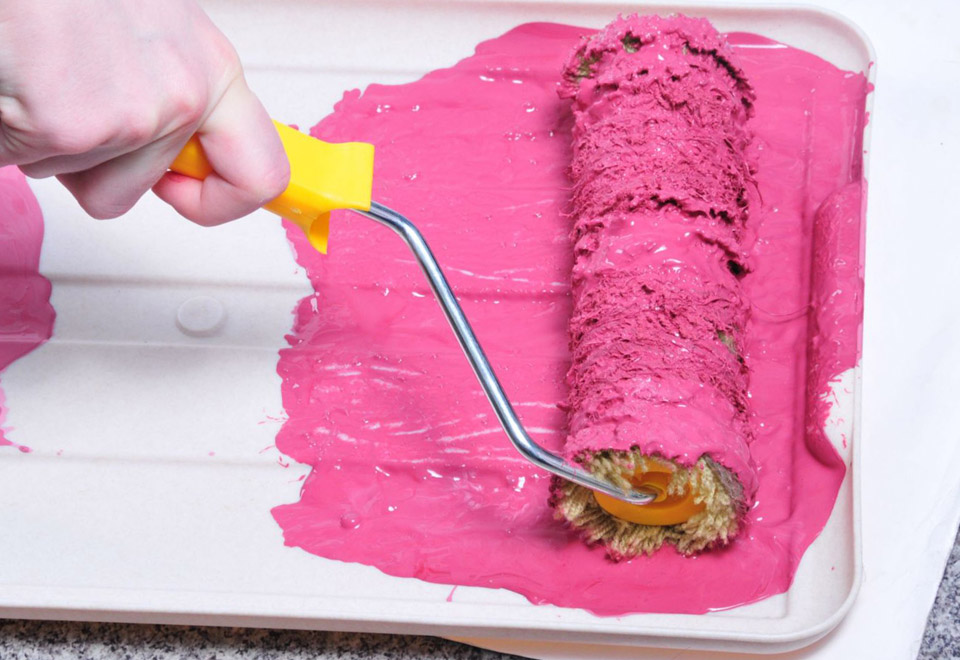
Structural paint is most often packaged in buckets and has a fairly thick consistency. In order to ensure high-quality application material on the wall, added to it plain water and the paint is mixed using a mixer. Please note that there should not be a lot of water in the paint, since liquid composition is not able to stay on the wall and ensure its complete covering.
The maximum amount of water that is added to textured paint, constitutes ten percent of the total volume of material. The average amount of water needed to thin paint is about 4%.
If tinting the material is done at home, then great attention must be paid to this process. First of all, take your time and add color a little at a time. Each time after adding dye, mix the paint well and apply it to the wall in order to really evaluate the resulting color. Wait for the paint to dry to speed up this process, use a hairdryer.
Buy paint and pigments from one manufacturer, only in this case will you be able to achieve the desired shade.

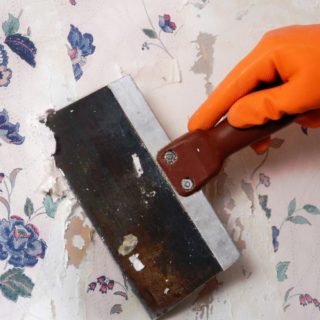
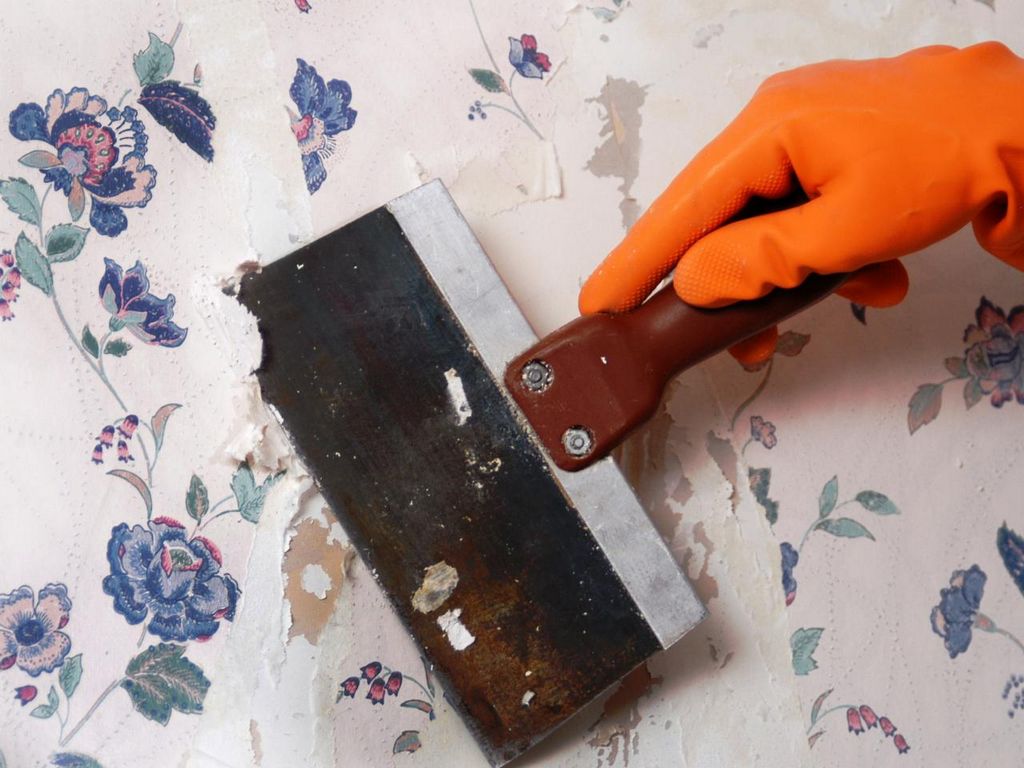
Before applying structural paint, care must be taken to prepare the surface. The final result of the work will directly depend on the quality of the wall. First of all, it is necessary to get rid of horizontal differences. The surface to be painted must be even. Daylight, after applying the composition to the surface, will show all the irregularities on the wall. Therefore, before applying paint, carefully plaster the surface or finish it with putty.
Next, it is imperative to coat the walls with a primer. The composition will absorb finely porous putty particles, reduce paint consumption and disinfect the surface. We recommend stopping on the ground deep penetration. It is possible to use primer with quartz sand; this composition provides excellent adhesion between the structural paint and the wall.
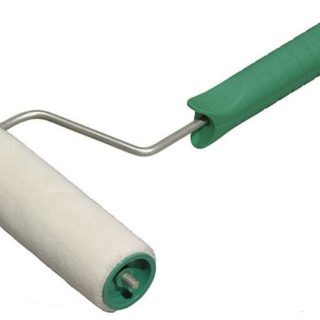
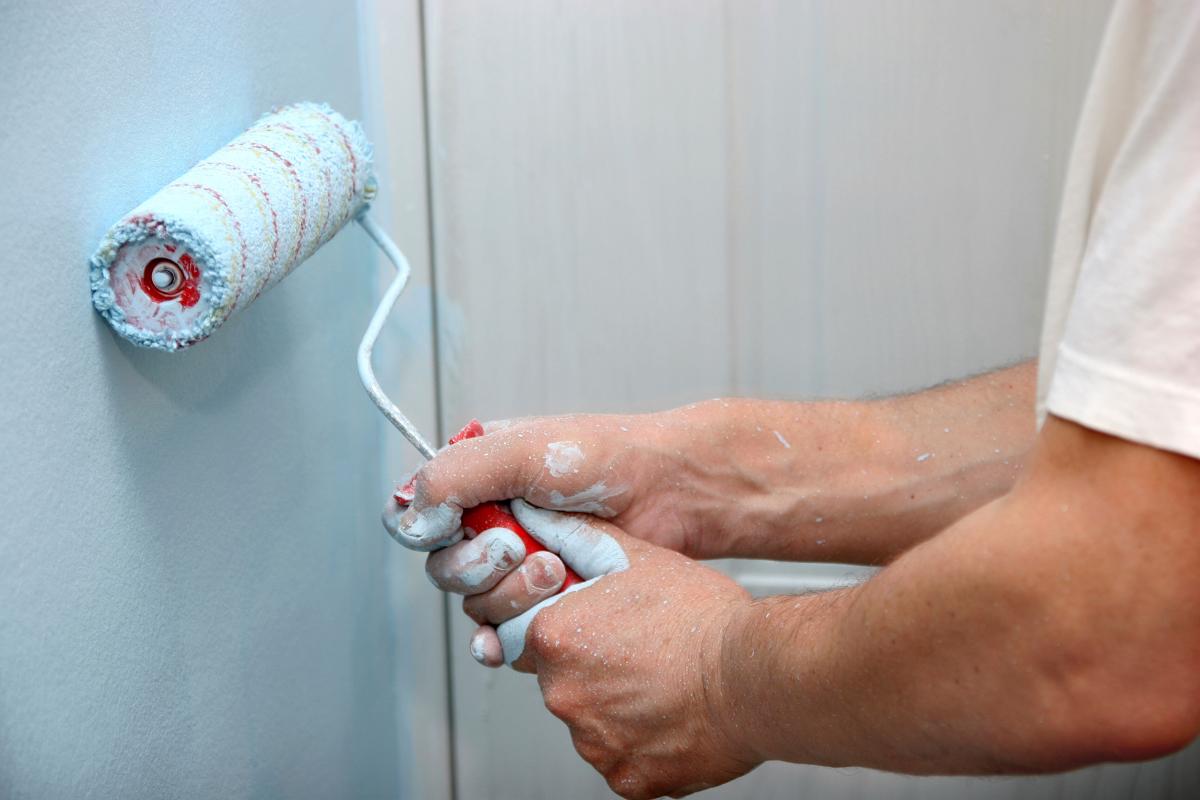
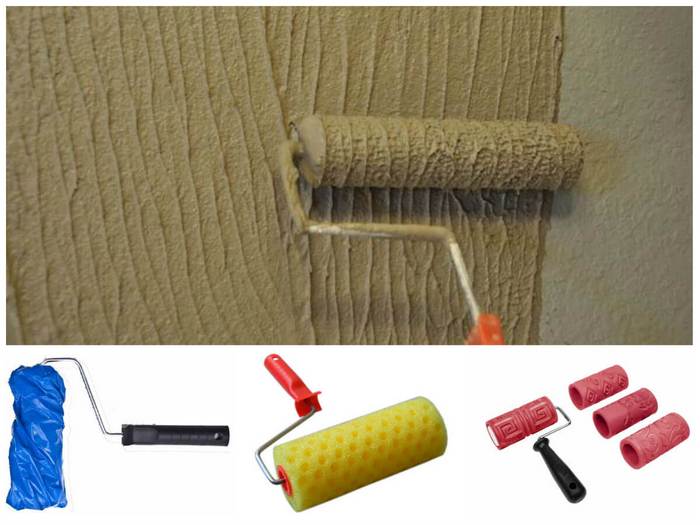
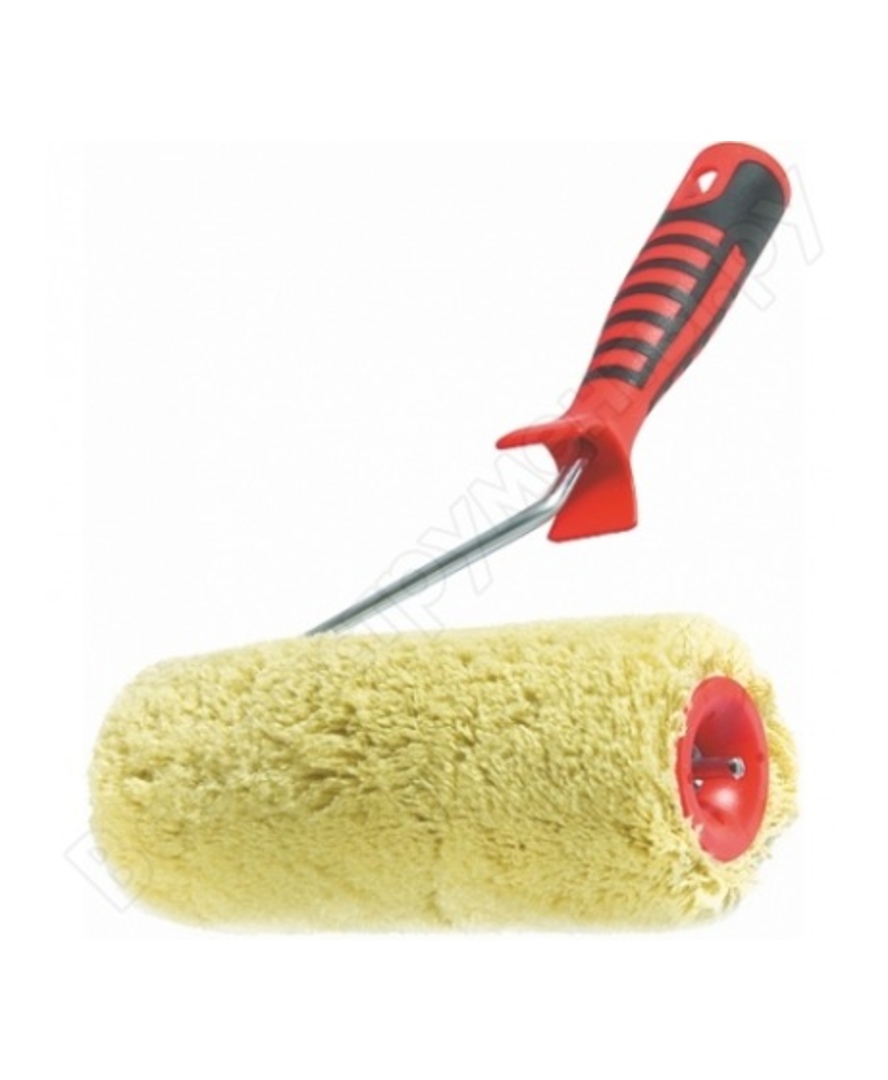
For application decorative paint a roller with structural irregularities is used. With its help, the paint covers the wall with high quality.

How to apply paint with a structured roller
In addition to the structural roller, before applying structural paint to the wall, prepare tools in the form of:
- wide spatula;
- structural roller, the pattern of which is selected individually, depending on the preferences of the owners.
How to apply structural paint video:
Initially, create the desired tone of paint by adding dye to it. Apply it to the wall, wait until it dries and evaluate whether this shade is suitable for surface treatment. This entire process is carried out in daytime and under intense solar radiation.
Before starting to paint the wall, mix the paint thoroughly. To create a rough surface, add sand to the paint, the amount of which is determined by the instructions.
It is possible to replace the roller with a stencil. In that case, process takes longer to complete. To obtain a scratched surface, use graters and combs. However, with the help of a structure roller it is possible to obtain a uniform texture in a very short time.
Apply paint first longitudinally and then transversely. If a spray gun is used to apply paint, then the first layer is applied from top to bottom, and the second in the transverse direction.
Paint for outdoor use should not be applied in wet or windy weather. Paint consumption is determined by the method of applying it to the surface. To reduce this indicator It is necessary to carefully prepare the surface for painting and cover it with a primer.
The paint hardening time reaches half an hour, so the work must be done very quickly. To prevent paint changes on the walls, cover the surface with a paint composition from one corner to another. After the paint has dried, usually for at least two days, apply decorative wax, varnish or acrylic-based enamel to its surface.
Please note that the paint is applied to the surface only in one layer. Complete drying of the material occurs after one or two weeks from the moment the composition is applied to the wall. Only after this is it allowed to wash the surface or apply various types of mechanical loads to it.
It is not allowed to have a draft or direct sunlight. They have a detrimental effect on the quality of the resulting coating.
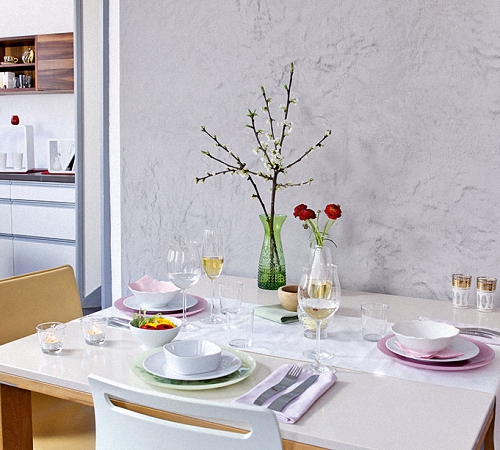
How to apply glaze to structural paint
With the help of azure it is possible to achieve additional aesthetic appeal of the coating. This material allows you to create a shiny, glossy, pearlescent wall surface.
The final result of the work depends on the method of applying the glaze. Most often, a roller is used to apply the glaze. In this case, the wall is covered with masking tape to get neat joints. Next, you need to apply the glaze in two layers. Maintain a bottom-up or cross-shaped motion. A roller with short pile is suitable for the job. After painting the surface, remove the tape from the wall.
Possible application paint brush for applying glaze. In this case, the azure is applied to the wall with a roller, and a brush decorates the surface according to the specified texture. Use only high quality synthetic brushes.
The third way to cover a wall with azure is to use a natural sponge. Initially, the tool is wetted in water and wrung out well. Next, dip the sponge in the pearlescent azure and apply it to the wall using gentle washing circular movements. To get a more textured pattern, press the sponge onto the surface and roll it around. After execution painting works, remove the adhesive tape from the wall.
It is possible to use a template or stencil with which to process the wall surface. Apply the glaze to the stencil using a sponge, brush or roller.

Structural paints for interior work
The process of applying paint indoors is not particularly difficult. Structural paint must be applied to a previously leveled surface, the maximum differences of which are two millimeters.
Next, you should coat the surface with a primer; if this is not done, the paint consumption will approximately double. To create the desired structure, practice on a small piece of plywood. Please note that the hardening time of the material is limited and the entire process must take place quickly and without interruption.
The paint is applied to the wall in one layer, while the structure is created using a special roller, grater and other decorative tools. Structural paint for indoor use sets very quickly, so try to create the necessary texture immediately after applying it to the wall.
After the paint has dried, be sure to apply a primer to its surface using a roller. IN hard to reach places use a brush. Some compositions are diluted not with water, but with a special solvent. In this case, you need to purchase it in advance.
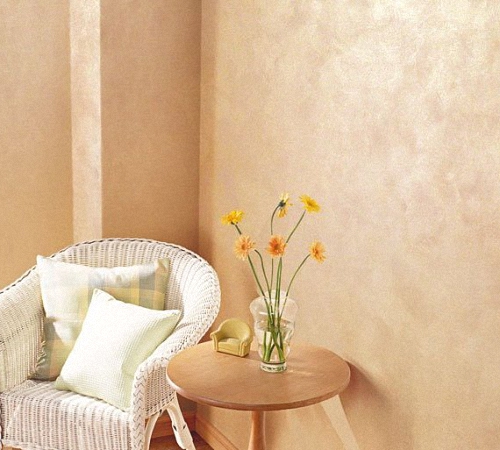
If you want to achieve a light pattern, then apply paint thin layer, processing it afterwards with a roller. By application additional materials Together with structural paint, it is possible to achieve a variety of decorative effects.

The use of sawdust in the paint composition allows you to obtain a relief surface. The addition of modified starch makes the surface both textured and smooth.
With the help of wax it is possible to imitate the bark of trees and achieve amazing results in decorating a room. For a stunning reflective effect, add to paint quartz sand and metal pigments.
How to properly apply structural paint video:
Water-based paint is widely used for indoor work - to cover walls, floors, and ceilings. She belongs to the family water-dispersion paints and has many advantages: it does not have a pungent odor, is non-toxic, durable, retains color for a long time, and dries quickly. Contains water, polymers and color pigments. You can add pigments of any shade to the solution, mix them in different proportions and get a unique original color. Since the most convenient tool for applying paint to smooth surfaces is a roller, builders are interested in which roller to paint the ceiling with water-based paint, as well as walls and floors. The quality of the final result may depend on the choice of roller, so you need to have a good understanding of which roller is needed for water-based paint in each specific case.
Types of water emulsion
The type of coating you prefer will also determine which roller you use to paint the walls with water-based paint. There are several types of paint: acrylic, silicone, silicate and mineral.
The first variety is the most popular. In its composition - acrylic resins, sometimes latex is added. The surface painted with acrylic coating is not afraid of moisture, it can be washed without worrying that the paint will soon be erased.
Silicone paints are produced on the basis of silicone resins. They successfully cope with sealing cracks up to 2 mm. They are also used for surfaces that are frequently exposed to moisture. If you carefully apply a paint roller for water-based paint to damp wall, it will help fight fungus and mold. The cost of such paint is above average.
The distinctive component of silicate water emulsion is colored glass. This variety is widely used for outdoor work. The paint adheres well to brick, concrete, cement, plaster and protects walls from adverse external influences.
Water-dispersion mineral paints contain either cement or calcium hydroxide. It is great for painting ceilings and walls, but its service life is limited compared to other types.
What types of rollers are there?
Once you have decided on the water-based paint, it’s time to choose which roller to paint the walls with water-based paint. Why a roller? Of course, you can use an alternative - a brush or spray. But applying the tools first will take much longer, and will look less aesthetically pleasing – even if it’s perfect. smooth surface It is difficult to apply the coating with a brush without obvious strokes and smudges. The second option is certainly practical and convenient, but it is not always possible to spend money on such an expensive device.

On the shelves of construction stores are presented paint rollers for water-based paint made from the following materials: foam rubber, pile, velor, polyamide. Their prices do not differ that much. Therefore, you might think that they are no different. But each type has its own characteristics during operation. Before deciding which roller is best for water-based paint, it’s worth understanding the properties of each.
Foam rubber or pile
Foam tools work well for application varnish coatings and glue. However, when deciding which roller to choose for water-based paint, it is better not to buy a foam rubber one. It quickly absorbs paint, moreover, it flows and drips abundantly from the instrument. A foam roller is short-lived and will quickly lose its initial properties.
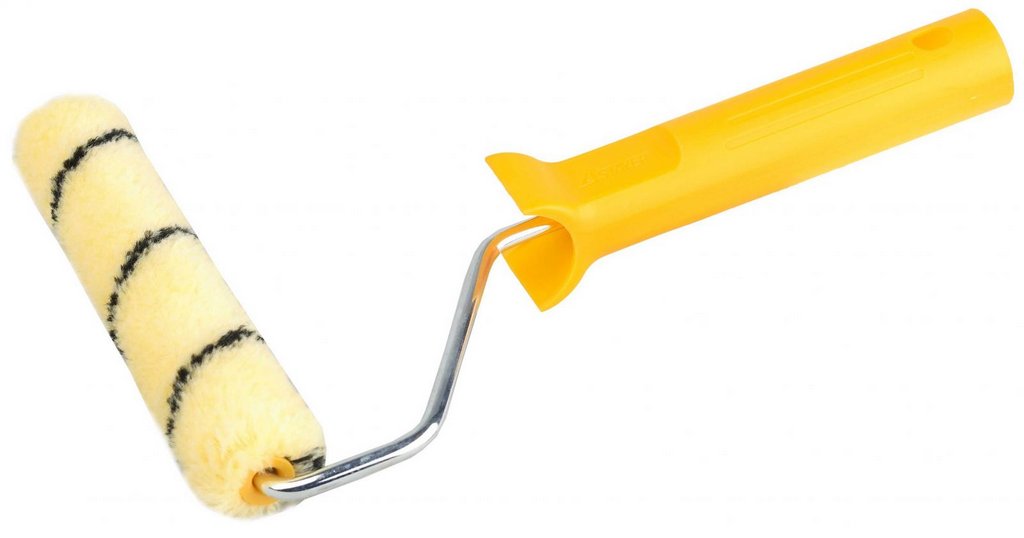
A lint tool can be used to paint any type of coating. There are rollers with short, medium and long pile. A device with medium-length bristles will cope best with applying water-based emulsion. Short ones absorb an insufficient amount of paint, and long ones, respectively, a lot. You need to be especially careful when choosing which roller is best to paint the ceiling with water-based paint. If you take a wide tool with long hair, it will become saturated with the mixture and become heavy. When painting the ceiling, you need to raise your arms all the time, and holding such a load, they will get tired several times faster. Thus, when thinking about which roller is best for water-based paint, buy a device with medium-length bristles. But be careful: during the painting process, lint may remain on the surface. Carefully remove them immediately, otherwise they will dry out.
Velor and polyamide instruments
Velor perfectly resists the effects of particularly aggressive components of paints, varnishes and solvents. It is equally good for use with different types of coatings, so when deciding which roller to paint the ceiling with water-based paint, you can safely take such a tool. The roller has no significant disadvantages, but there are characteristic feature– they will often have to be dipped into a container with water emulsion, because they quickly absorb the mixture.

Polyamide rollers are made from textiles, stitching the pad with threads. Professional painters love them very much, because polyamide rollers are durable and can be used for applying any paints, varnishes, and enamels. You can safely buy such a tool as a roller for water-based paint for walls. Please note that you should paint with such a device very carefully and carefully, otherwise the paint will scatter in different directions.
Let's summarize which roller is best for painting walls with water-based paint: you can take a fluffy one with medium bristles, polyamide or velor. When deciding which roller to paint the ceiling with water-based paint, give preference to the same types. But keep in mind that velor quickly absorbs paint, and lowering your hands to the container and lifting them many times, you will agree, is very tiring.
General rules for choosing a roller
Regardless of which roller you choose for painting the ceiling with water-based paint, you need to thoroughly check it in the store, because no one is immune from poor-quality purchases. So, first of all, inspect the tool. The pad should be uniform, fibers and threads should not stick out in different directions, and there should be no cracks on the handle. The seams on the pad of a good roller will be almost invisible, not too prominent. Squeeze the pad tightly with your hand - after you release it, it should return to its original shape. Following these simple rules, you can choose a high-quality water-based paint roller for ceilings and walls.
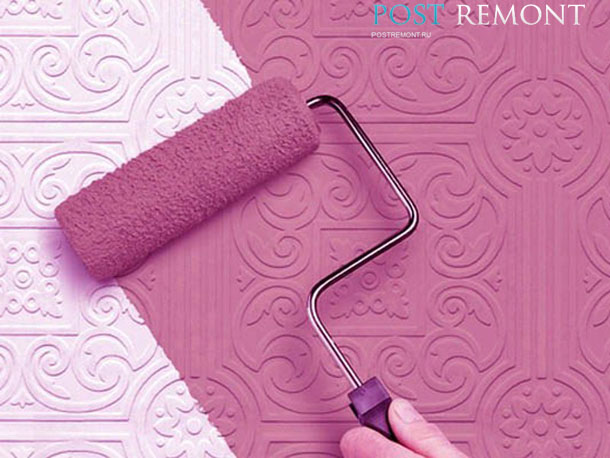
Add a room stylish design and decorative plaster rollers will help make it unusual. It’s amazing that such an affordable and familiar means for leveling walls has become a full-fledged tool for decorative finishing. The secret of the transformation is hidden in textured rollers, which allow you to create a figured print on the wall, imitating various types surfaces, for example, the texture of stone, wood, leather, “fur coat”, etc.
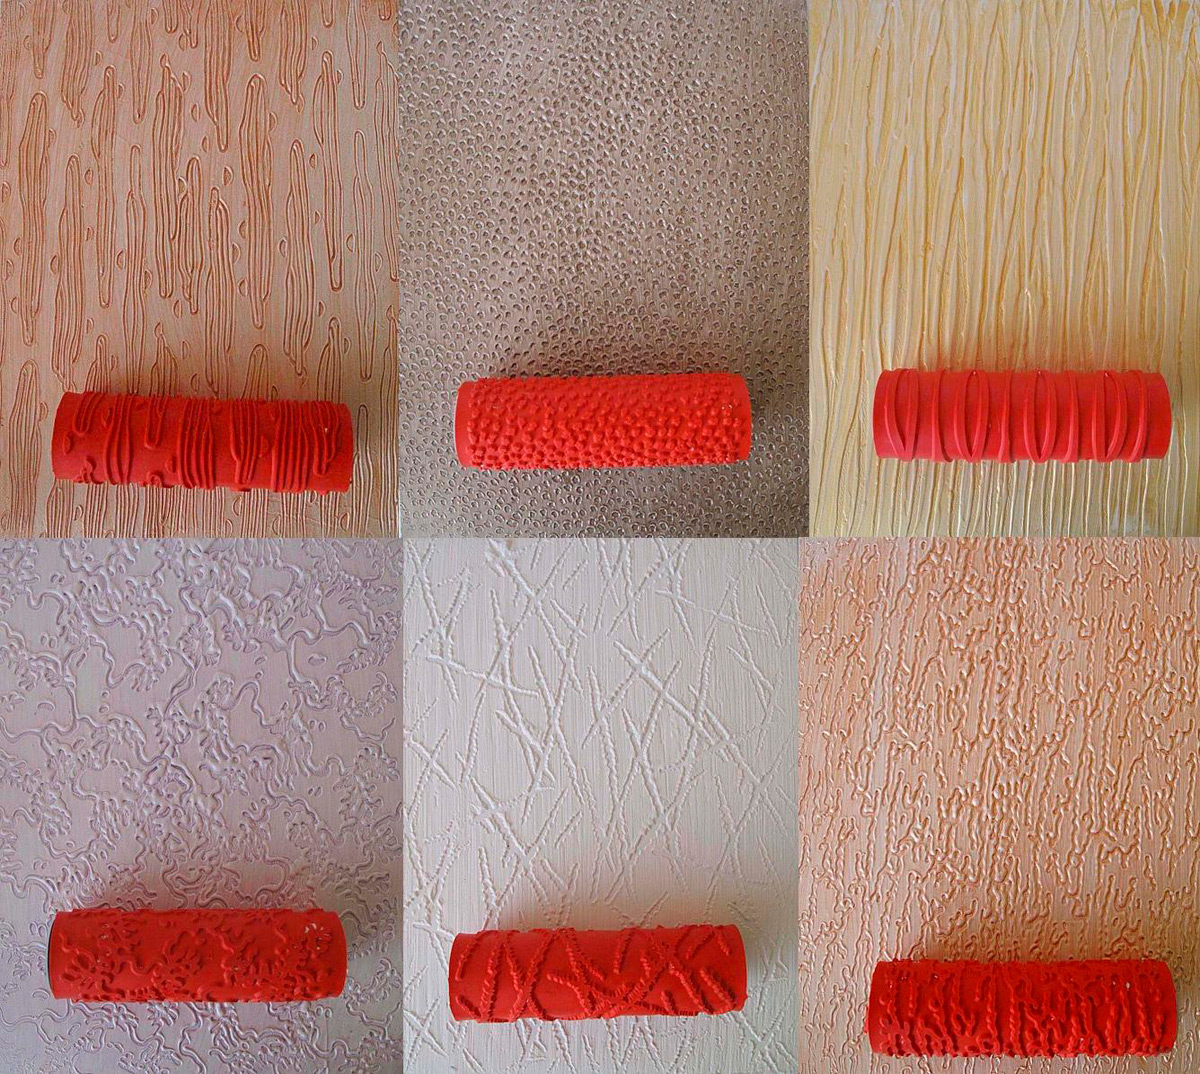 With the help figured rollers you can easily create a drawing on the wall
Types of rollers
For a long time, craftsmen have been working on walls using improvised means: sponges, a comb, a stiff brush. Today assortment construction tools for decoration, it allows you to find a roller with a ready-made relief that suits your design, which, after processing the plastered wall, turns it into real three-dimensional images. Roller cylinder coating variations:
- rubber;
- foam;
- plastic;
- tree;
- silicone;
- textile;
- leather.
 Before choosing a roller, you need to decide on the desired pattern on the wall
 Tools with a soft surface, such as fur, create a “fur coat” effect on the plaster. We get the marble finish using a fabric roller with a crinkled cloth, and the finish is similar natural stone gives a leather surface. As a rule, such rollers are used when you need to process a painted surface. Standard foam cylinders can be modified by winding twine, thread, or pieces of foam to create natural patterns, such as the structure of tree bark.
Features of structural rollers for plaster
If you are interested in a more pronounced decor, then you cannot do without rollers with a hard coating. Their cost is an order of magnitude higher than conventional clamps, but this is due to their high aesthetic value. In addition, they can be used several times. The most productive will be rubber rollers, which can have a convex pattern to obtain a depressed pattern or slotted to form three-dimensional textures.
Since such an innovation for decorative plaster came from Western countries, then it is in their stores that a variety of textures and patterns reign: leaves, flowers, animals, birds, geometric shapes.
Work with a structural roller is carried out in two ways - first they apply plaster, wait for it to harden for a while, after which they finish it layer by layer or apply plaster to the wall (already decorated with putty in one layer), dipping the roller into the composition. But, basically, the second method is used to carry out patterned color painting by creating imprints with this rubber product.
Stages of plastering walls
 Before applying decorative plaster, the wall must be carefully prepared
 In order for the plaster to last longer and not crack, it is necessary to pre-treatment. To do this, the surface of the wall is cleaned of dirt, old wallpaper, dust and a primer is applied to it. After which they pass with putty for leveling. For puttying, spatulas of sizes 300 mm, 450 mm, 600 mm are used. The application of putty should be uniform. And don't push too hard.
After the first layer of putty has dried, it is necessary to apply a second one using a 600 mm spatula. The putty must be applied and smoothed in two mutually perpendicular directions. Next, you can proceed to the decorating process, which consists of the following stages:
- Dry plaster is mixed with water, bringing to a homogeneous consistency.
- Then they apply the mixture to the wall in a layer of 2-4 mm in order to proceed to creating the decor, or more densely if it is also necessary to level the surface. Smooth out with a spatula.
- Allow about ten minutes for the composition to thicken, and begin to roll over it with a textured roller from top to bottom, forming a pattern. It is more convenient to work in pairs, when the first person applies the plaster, and the second creates the relief, for example, a “fur coat”.
- Subsequent treatment of the wall with paint is carried out after 48 hours, when the plaster has completely dried. If you need to paint the entire wall, then buy a roller with a long pile, and to add color only to the protruding parts, use a tool with a short pile.
Principles of accurate drawing
When using rollers for decorative plaster, you must follow several rules:
- The roller should not be pressed tightly against the wall; the movement should be smooth and unhurried.
- The application of the second path of paint begins where the border of the first pattern passes, without overlapping.
- At the ceiling, the roller needs to be slightly pressed upward, but further maintain a low pressure force.
- If the pattern is too embossed, you can smooth it out with a wet sanding mesh.
How to create a “fur coat” surface
A “coated” wall means that plaster is sprayed onto the surface using a broom, brush or a special machine. “Fur coat” is especially popular for facade surfaces, but it will also look interesting indoors. Modern version creating a fur coat involves using textured roller, which allows you to make the layer uniform and presentable.
Facade treatment under a “fur coat” is carried out in the same way as in a room. First, putty is applied, plastered and applied over the plastered layer with a lint roller. If a mistake occurs or you see that the plaster is uneven, you should remove the excess with a spatula. It is impossible to take breaks in the process of creating a “fur coat”, otherwise the composition will have time to dry, and the joint will be too noticeable at the edges.
Application structural rollers will allow you to decorate the wall as well as any repair specialist. Decorative plaster It has long outgrown its main purpose (lining walls) and is an excellent way to create exclusive interiors, and even in ethnic style.
Apartment renovation
Extended smooth structures, which include walls or ceilings, are best painted on your own using a standard roller. Our industry produces rollers of various sizes and structures. On sale there are rollers with a width work surface from five to thirty centimeters. They also differ in the size of the handle. Choose right size it is necessary taking into account the problem being solved. So, for example, to paint walls, they often buy a roller with more elongated handles. However, it is more important to make a successful selection of the “coat” for the roller.
Which roller to paint the ceiling with
Roller for ceilings must be selected based on several parameters. Most often, a roller for the ceiling has a relatively small or medium handle compared to a roller for painting walls. Conditions for the quality of coloring ceiling surface often increased, as a result of which the roller must be selected scrupulously. More often, for painting ceilings, a tool with a slightly elongated, non-hard pile is used. Preference should be given to natural pile, for example, from real wool. A very short pile will absorb a small amount of paint. You can use a foam roller for the ceiling, but this is not an ideal option: it can create “bubbles”.
 Which roller to paint the ceiling withand walls
There is no need to roll out the paint composition absorbed into the roller immediately on the ceiling surface, as this can lead to uneven distribution of the layer. First, you need to roll it out on a pre-prepared piece or other similar base. A painter's tray can be used as a tool if the dimensions of the tool are not very large.
Which roller to paint walls with?
Before selecting a roller for painting walls, you need to choose the type of paint coating. The type of tool itself will depend on this choice. For example, with water-based paints easy to work foam roller. It can also be used to work with various water-based adhesive solutions (,). However, it is not recommended to use such a roller with emulsion compositions. Foam rollers are one of the cheapest options. Their main disadvantage is their short service life. In addition, they splash a lot during intensive work.

 Which roller is better?
Rollers with thread, velor and fur surfaces are perfect for applying different types paints, even those with an organic base. These fabrics pick up a fairly small volume of paint and distribute it evenly over work area, do not form splashes or streaks.
During painting work, the main thing is that the paint layer on the wall is of the same thickness. They do a great job with something like this. In addition, they are good at applying paint to various imperfections in walls (small roughness, cracks, potholes, crevices). The disadvantages of fur rollers include their ability to “shed”, leaving behind “lint” on the painted area. This is usually the problem with inexpensive instruments.

They have properties identical to fur. However, they are able to form an even more even coating. After using them, the paint layer looks perfect. This type The roller is used in critical areas when painting wall structures. There is an opinion that this is a tool for professional craftsmen. If a beginner paints with a velor roller, all the imperfections are visible on the surface. In addition, this roller is good for applying varnishes.

Good when the priority is speed rather than quality of painting (for example, if the work area has a very wide perimeter). When using it, you must not forget that very intense rotation of the drum can cause splashes. As a result, it is better not to rush. The thread roller creates an interesting texture on the painted surface.

Selecting a roller for painting walls: pile size
There is a principle: The worse the quality of the wall surface, the longer the roller pile is chosen. There must be a tool with a large pile that is going to be used for painting. textured wall(for example, or wallpaper with texture). A long pile can perfectly paint various potholes, depressions, and cracks. For smooth walls, you need a roller with a small pile! Remember: if you use a long-nap roller on flat wall, then smudges will form.

Self-exercise repair work- not such a complicated process as it seems at first. But there are some nuances, as with any other issue. Particular attention should be paid to painting the walls. The roller is used specifically for at this stage. The tool is indispensable when doing all the work yourself. Let's try to figure out how to properly paint walls with a roller, and what kind of tool should be used.
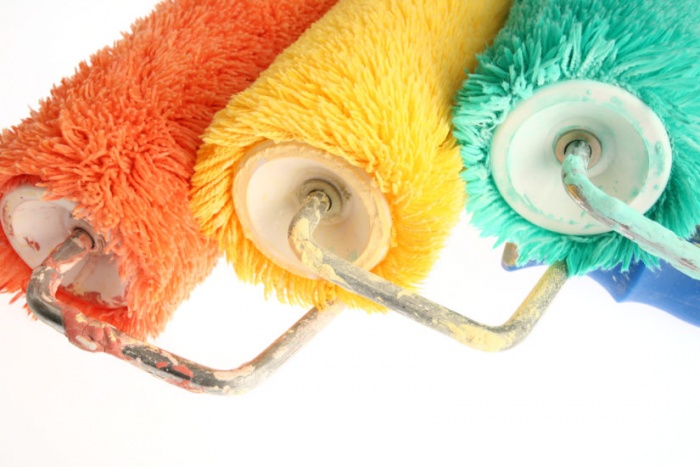
Types of rollers
It is necessary to study the characteristics of the tools in advance, and then there will be fewer problems with the choice, because these products cannot be called universal. They are of the following types:
- With foam rubber. An excellent option if varnishes are applied, adhesive compositions. The only drawback is the ability to wear out quickly. It is better to use the tool when processing canvases.
- Fur. They have good absorbency. Almost all the paint remains on the treated surface. As a result, we get a uniform layer, devoid of smudges and unpleasant changes. Can be combined with any colors. Flint from such rollers may remain on the base.
- Velor. Also compatible with any type of paint. They contribute to the formation of smooth and beautiful layers that have no roughness. But this variety is capable of absorbing a large amount of material. Therefore, it is not always suitable for those who are interested in how to paint with a roller.

- Thread or polyamide. Such rollers are made from fabrics stitched with special threads. Ideal option for covering walls with any variety of materials. These tools are convenient and easy to work with and will allow you to achieve the desired result. The main thing is to be careful to avoid splashing. Then it will be easy to figure out how to paint walls with a roller.
When choosing a tool, you need to be careful visual inspection. The presence of fibers and protruding threads on the surface is unacceptable. If you choose fur products, then the longer the pile, the better. The perfect solution with wallpaper with deep patterns, or walls with unevenness. A short pile is acceptable if you have to process walls where everything is smooth.

But it is not only the type of material that needs to be taken into account. No less important factor becomes the width of the roller. 30 centimeters – optimal parameter for use in city apartments. If the roller has an increased width, then when further work difficulties arise. It will require taking diluted paint in large quantities, and the process itself will become more complicated.
It is recommended to purchase not only a roller, but also additional components to him. For example, the process is made easier thanks to the extension handle. Or a special grater - it helps to get rid of residual material.

Application of rollers for coloring material allows you to get the following benefits:
- Process large areas in a short time. The quality of the finished surface pleases customers for many years.
- Compared to a brush, a roller is a more convenient and pleasant tool for constant use.
- Connection long handle. This will allow you to stay on the floor while you work.
But the device also has some minor drawbacks. Those who are concerned about how to paint with a roller should also remember them.
- Inconvenient processing of joints and corners. Then the brushes do a better job.
- Some varieties absorb too much paint. In this case, a special spinning device will help.
Preparing the surface for painting
You need to purchase the following equipment before starting repairs:
- Paint tray.
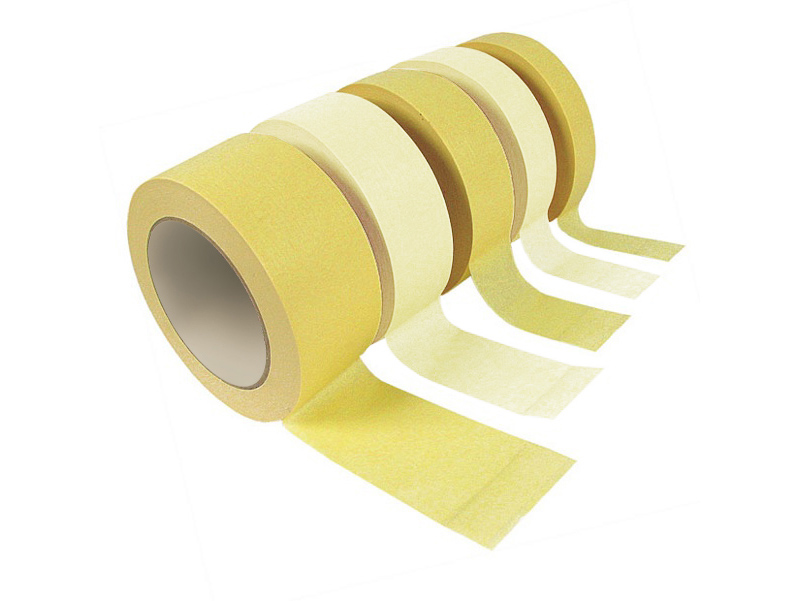
- Paper masking tape. It is needed to provide additional protection.
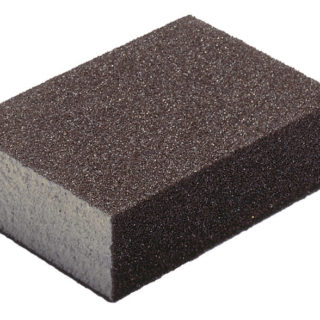
- Emery block. It is used in case manual grinding coatings

- The rollers themselves, with different sizes and reliefs.
After purchasing everything you need, follow these steps:
- We take down the curtains.
- We move the furniture to the middle of the room and cover it with polyethylene film.
- Special covers also help with such work.
- Skirting boards and other similar interior elements are also protected from paint. That's what masking tape was needed for. The material is cheap, but can bring a lot of benefits. Painting walls with a roller will be effective.
We cover floors, doors and windows with plastic film. Additionally, the film itself is fixed with masking tape.
- Turn off the electrical power.
- We remove covers on switches and sockets, protecting the surfaces of electrical appliances from paints.
- We cover the surface of electrical appliances with masking tape.
- Temporarily remove the heating radiators.
The valves in the system must be completely closed. In the place where the pipes are supplied, a tray must be placed to protect against water getting on the floor. The cap hooks connecting the radiator to the pipes are completely unscrewed, and the water is drained. The radiator must be removed from the brackets responsible for holding it. All that remains is to pour out the rest of the liquid. Roller painting of the wall is complete.
Old top layer It must be removed from the wall, which can be done with a regular spatula. The surface will become smooth if you clean it with sandpaper. This part is not performed if walls on which wallpaper is applied are processed. In this case, preliminary priming of the surface is sufficient.
In addition, a set of actions will be required to level the walls, as well as eliminate various defects:
- We fill potholes with cracks with plaster or putty. Take a small flat spatula.
- Sandpaper up to 120 grit helps smooth the surface as the materials dry.
- A sponge or a thin cloth is used when it is necessary to remove dust and dirt from the surface.
- All that remains is to vacuum the floor. We figured out how to paint the walls.
It is necessary to bring not only the walls themselves into proper condition, but also the roller with which they are processed.
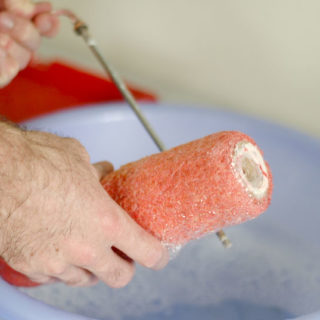
If you choose a fur roller, then several steps will be required when painting the walls:
- Soak the instrument in soapy water for three hours.
- We use running water for thorough rinsing.
- Dry the device.

With this preparation, you don’t have to worry about the appearance of lint on the surface. They simply will not fall out of the tool. It is easy to apply the material with a roller without streaks.
In the video: painting walls in two rollers.
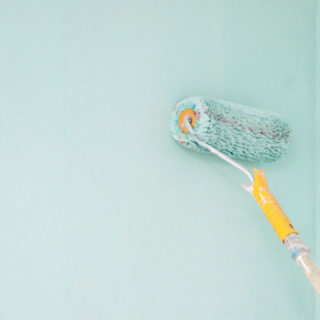
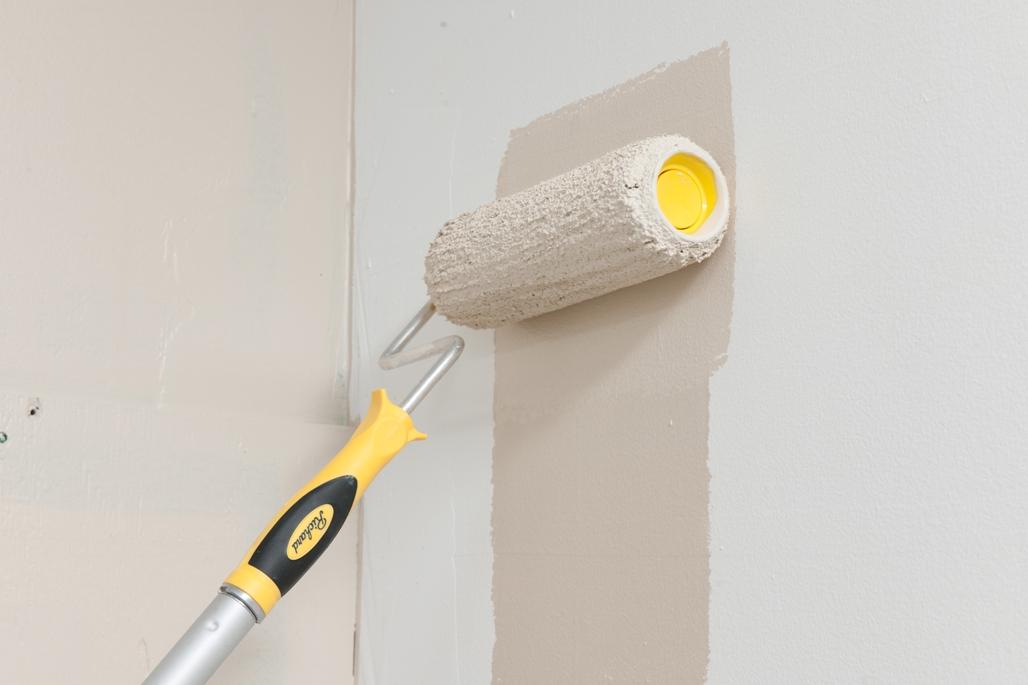
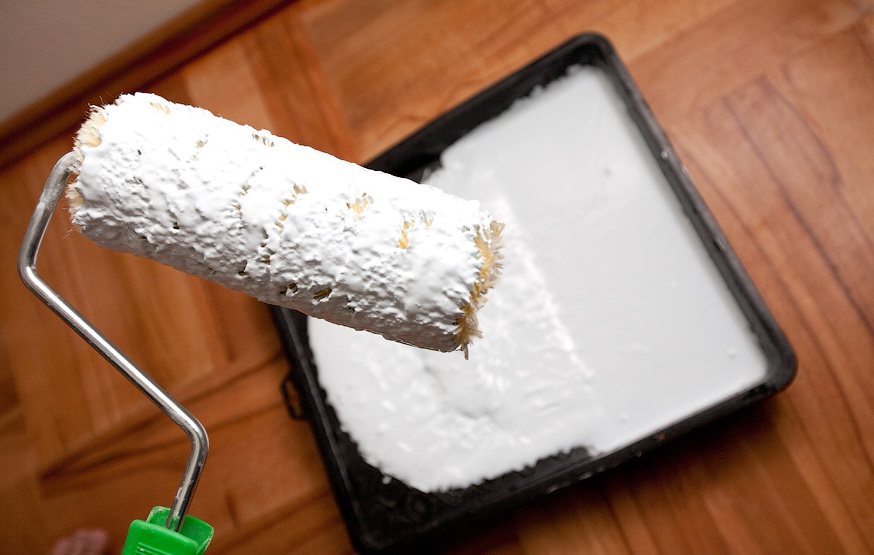
About roller painting technology
- Pour a small amount of paint into a special tray.
- The roller itself is dipped into this bath.
- The roller rolls out along the mesh or along the corrugations that the bath is equipped with. Then the paint will be evenly distributed throughout the instrument. The action is performed several times.
- It is necessary to determine where to start processing and in which direction to move.
- The best option to start work is a corner of the room located near the window.
- Movement is carried out on any of the acting sides.
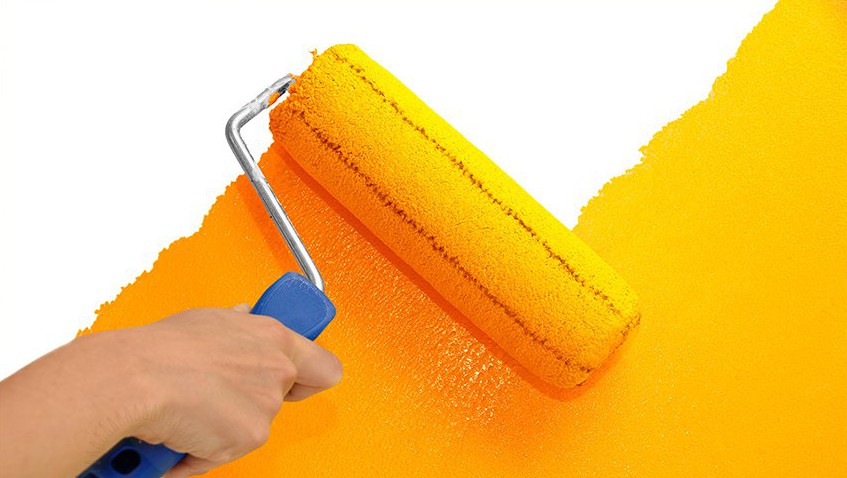
The main thing is not to put too much pressure on the instrument. The entire surface must be painted evenly so that empty gaps do not appear. The movements are performed smoothly, only in this case the declared result is achieved. First, the roller is moved from top to bottom, and then in the reverse order. The paint is applied in several layers if you want to get rich colors. In this case, subsequent layers are applied only after the previous ones have dried. Then the painted object looks beautiful.
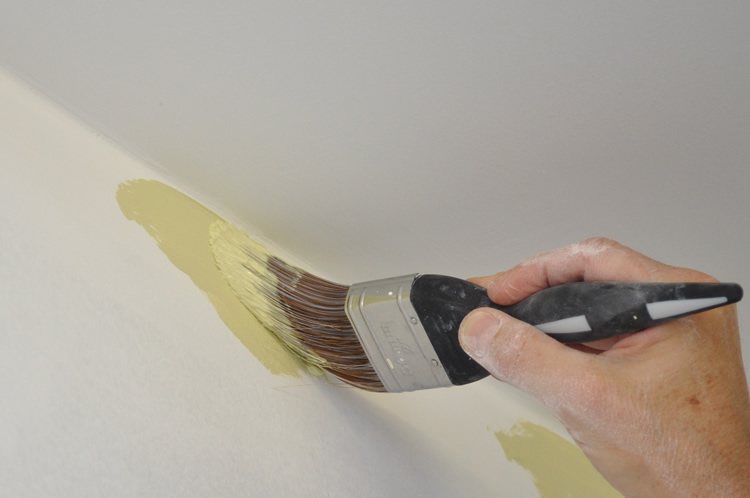
The corners must be painted with a brush; it is never possible to completely cover them with the material using a roller.
Basics of painting walls with a roller (21 photos)

![]()